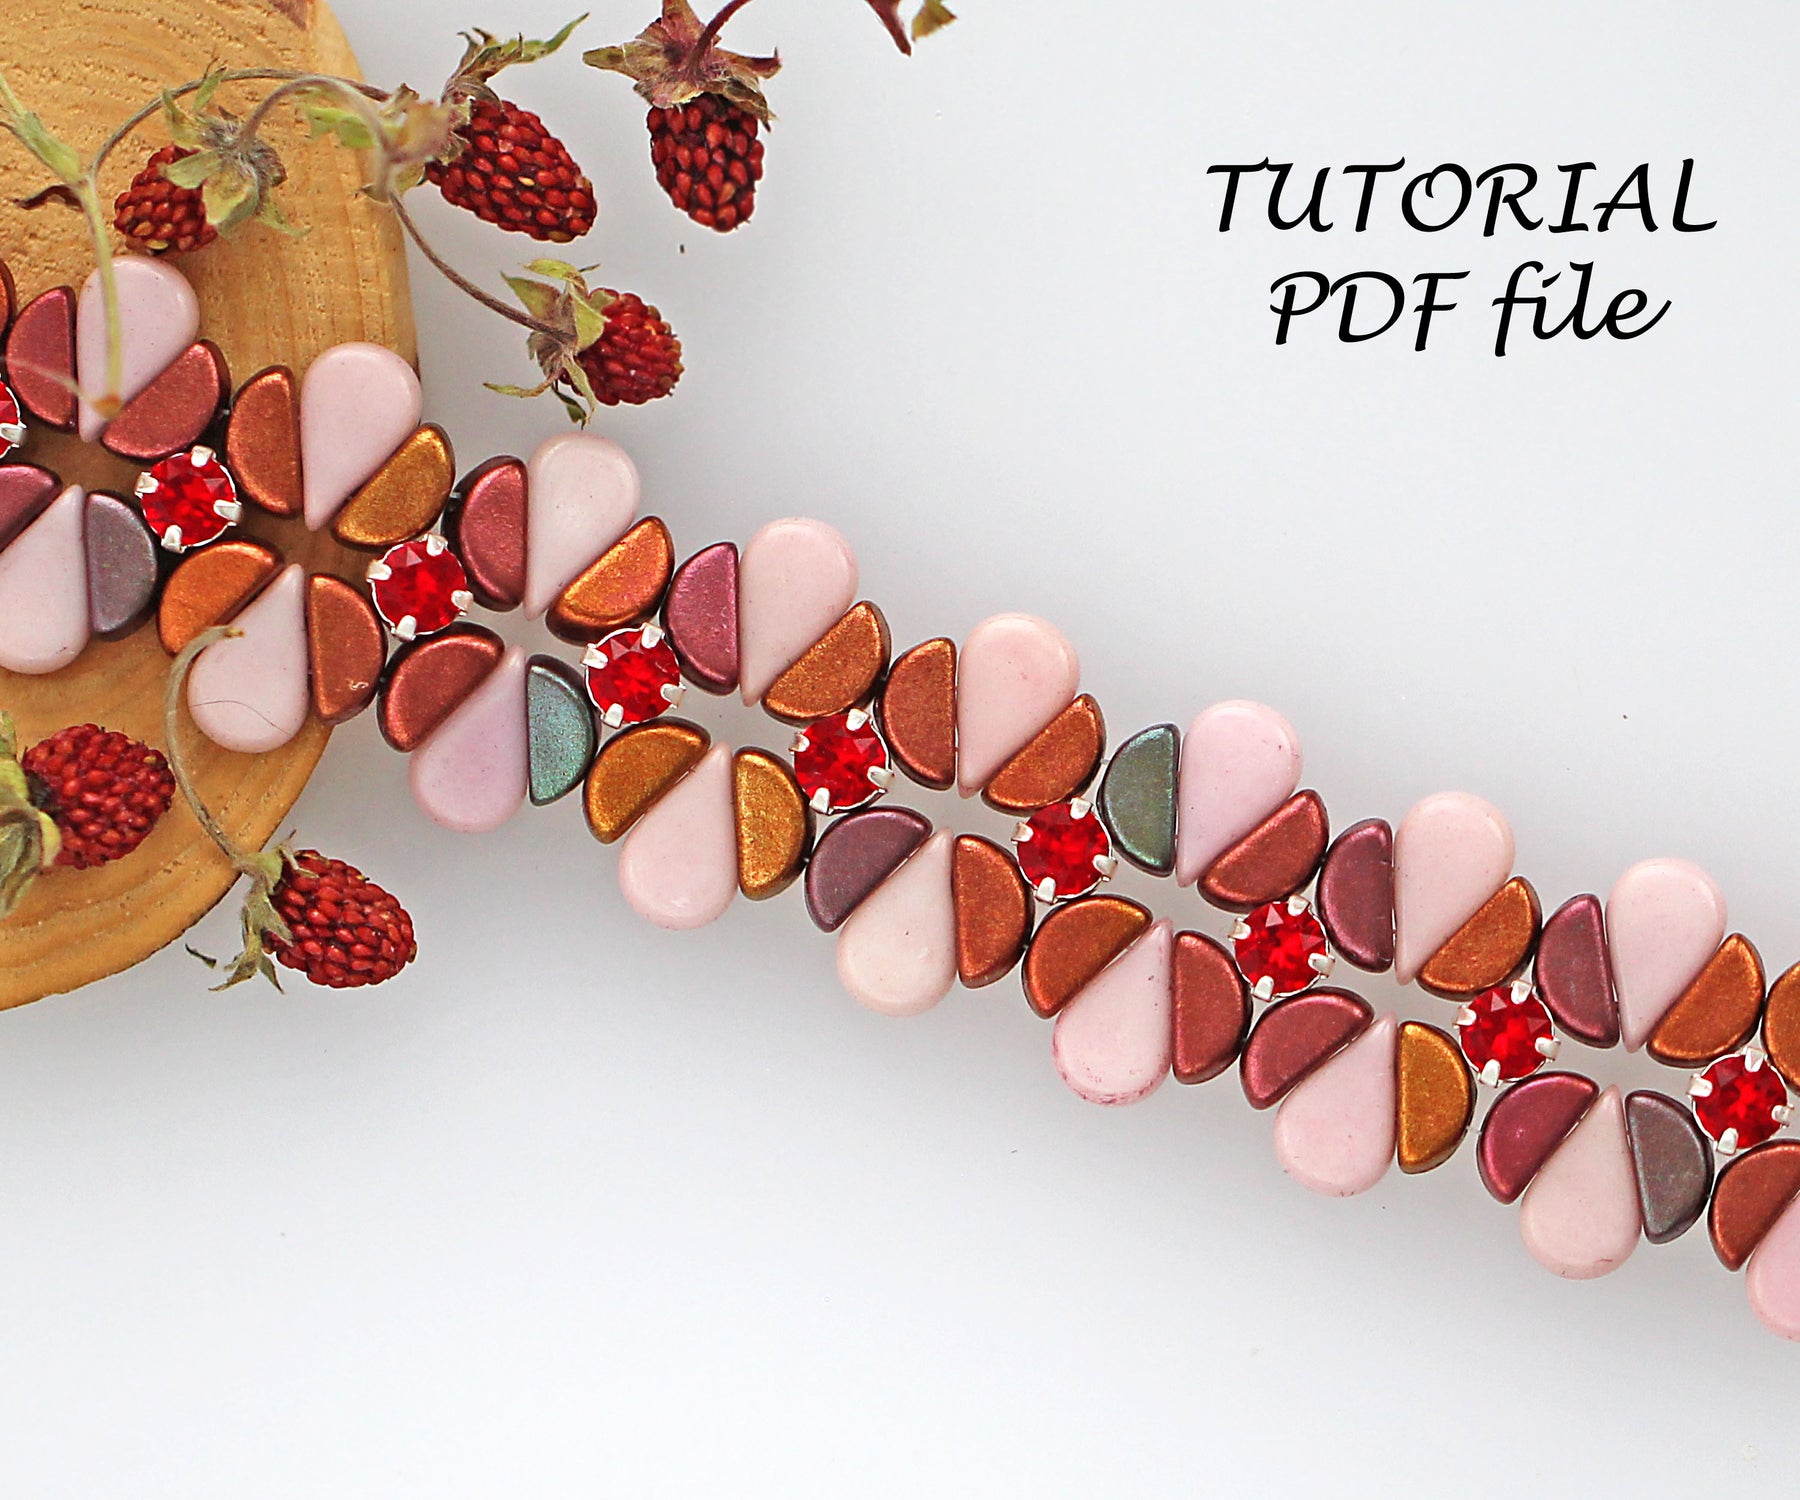
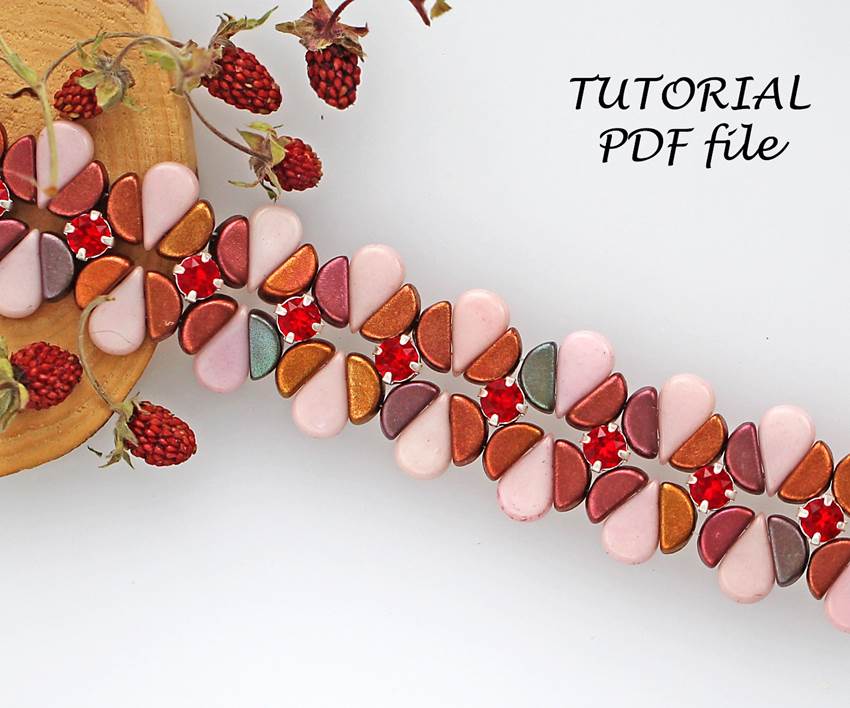
TUTORIAL BRACELET «STRAWBERRY» by Yuliya Abelovich
Unauthorized copying, distribution, selling and teaching of this tutorial or parts of this tutorial are prohibited.
You are welcome to sell the finished product from the tutorial you have purchased in small amounts (mass production is prohibited).
Please, respect the copyright.
You are welcome to sell the finished product from the tutorial you have purchased in small amounts (mass production is prohibited).
Please, respect the copyright.

The length of one link of the bracelet is 1 cm. You can achieve any length by adding or reducing the number of links. (Since each link is made partially, the total length of the bracelet is calculated as 1 cm per link multiplied by the number of links, plus an additional 0.5 cm).
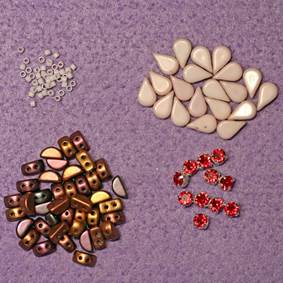
1. Materials required for bracelet:
• Seed beads 11/0 (I use Delica 1494, also you may use any other seed beads 11/0) – 20 pcs - click here
• Amos par Puca (color Opaque Light Rose Ceramic Look -03000/14494) – 2 pcs for each link in bracelet;
• Kos par Puca (color Yellow Gold Metallic Iris - 00030/01620) – 4 pcs for each link in bracelet - click here
• Chaton 4.6 mm (sew-on with 4 holes size SS19 color Light Siam – 1 pcs for each link in bracelet + 1 pcs;
• Bracelet clasp and two jump rings - click here, click here
• Fireline 6 lb for bracelet 0.3 m + 0.05*long of + bracelet. For example, if bracelet 17.5 cm, you need 0.3 +0.05*17.5 = 1.18 m - click here
• Two beading needles – size 12 - click here
• Small pliers for jewelry making
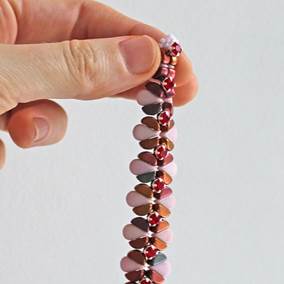
2. Pay attention! When crafting the bracelet, ensure its size closely matches the wrist on which it will be worn. Since the finished bracelet can be folded in half, it should be the right size to enhance its appearance on the hand.
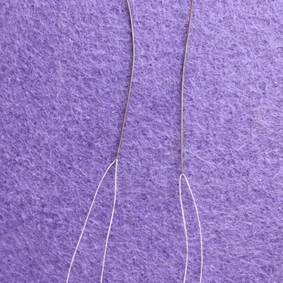
3. String both needles on the ends of one thread.

4. Pick up the right needle 6 seed beads 11/0.
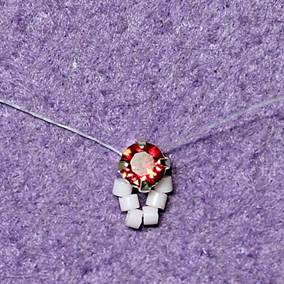
5.  Pick up one Chaton on two needles. Follow the illustration for placing the Chaton diagonally, as shown in the small picture. Align the ends of the thread. You may move the finished element to the right or left. Ensure that the two ends of the thread are of the same length.
Pick up one Chaton on two needles. Follow the illustration for placing the Chaton diagonally, as shown in the small picture. Align the ends of the thread. You may move the finished element to the right or left. Ensure that the two ends of the thread are of the same length.
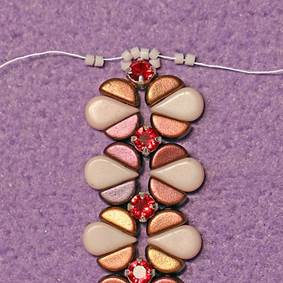
6. Take on the right needle Kos bead and on the left needle Kos bead.

7. Take on the right needle Amos and on the left needle Amos.
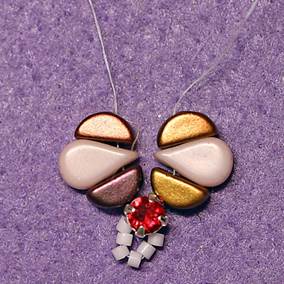
8. Take on the right needle Kos and on the left needle Kos.
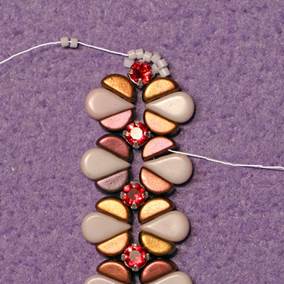
9. Take on two needles Chaton. Now you may repeat steps from 5 to 8 for making the length of bracelet you need.

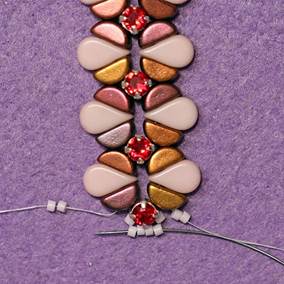
10. When you finish, take on the right needle 5 seed beads and on the left needle one seed bead.
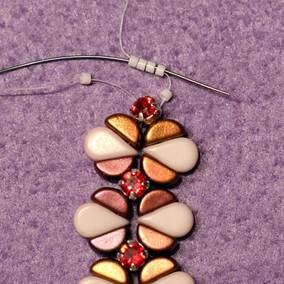
11. Left needle goes through 4 seed beads.
12. Take on the right needle 2 seed beads, take on the left needle 2 seed beads.
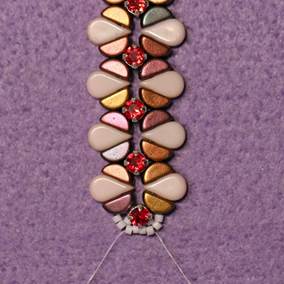
13. The right needle passes through 2 seed beads 11/0, then through the upper hole of Kos, Amos, Kos, and the next Kos. Repeat this bead sewing pattern along the entire right side of the bracelet. Afterward, repeat the same actions on the left side of the bracelet.
14. As you reach the beginning of the bracelet, string 2 seed beads onto the right needle and exit through 4 seed beads. Repeat the same steps with the left needle.
15. Thread both needles through the weaving. Tie knots at the ends of the thread in bead weaving. Afterward, you can pass them through the weaving, tie another knot, and conceal the ends within the weaving. Finally, trim off any excess thread ends.

16. Use pliers to open the rings with a sideways movement (as shown in the photo). Place them on the bracelet locks and securely close the rings again.

Leave a comment